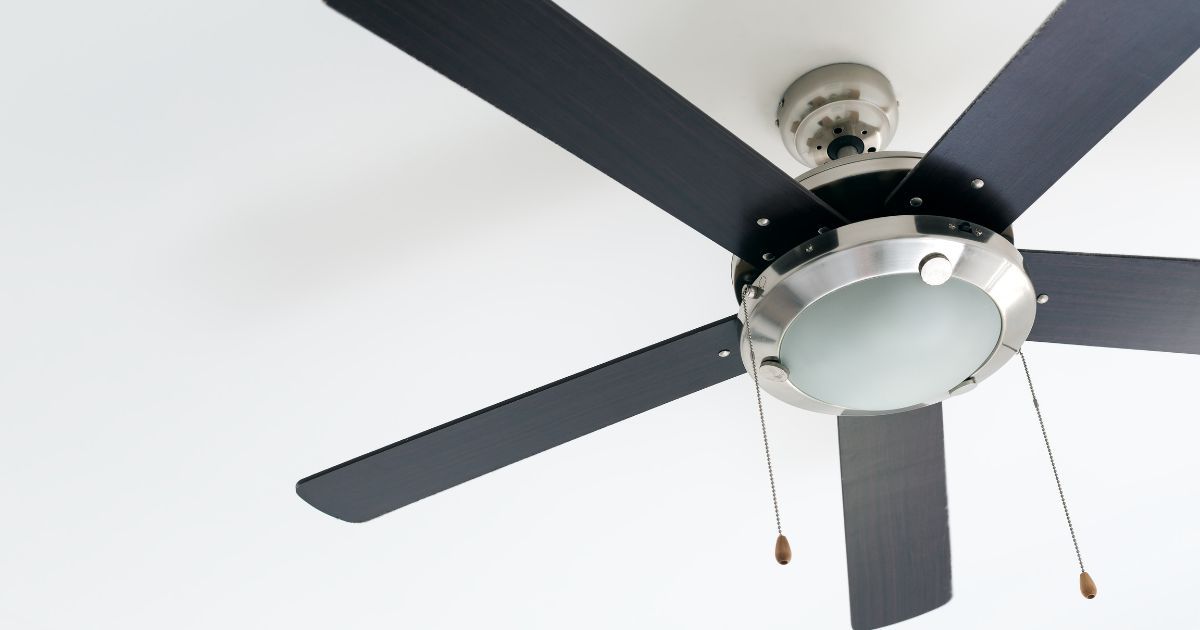
How To Install A Ceiling Fan & When To Call A Pro
A ceiling fan can be a great addition to any room, providing comfort and energy efficiency. Installing a ceiling fan yourself can save you money and give you a sense of accomplishment. However, it’s essential to know your limits and recognize when it’s best to call a professional. In this article, we will guide you through the steps of installing a ceiling fan yourself, while also highlighting situations where it’s advisable to seek professional assistance.
DIY Installation Steps
- Gather the necessary tools and materials: Before you begin, ensure you have the following items: a ceiling fan kit, a ladder, a circuit tester, wire cutters, wire connectors, electrical tape, a screwdriver, and pliers.
- Turn off the power: Safety is paramount. Before starting any electrical work, turn off the power to the circuit you’ll be working on at the breaker box. Confirm the power is off by using a circuit tester.
- Select the right location: Choose a suitable location on the ceiling that provides adequate clearance and complements the room’s layout. Ensure there is a junction box in place to support the weight of the fan.
- Install the ceiling fan mounting bracket: Attach the mounting bracket to the ceiling junction box using screws. Make sure the bracket is secure and aligned properly.
- Connect the wiring: Carefully thread the fan wires through the bracket and connect them to the corresponding wires in the ceiling. Typically, you will match the fan’s black wire to the ceiling’s black (hot) wire, the white wire to the ceiling’s white (neutral) wire, and the green or bare wire to the ceiling’s green or bare (ground) wire. Use wire connectors and electrical tape to secure the connections.
- Mount the fan motor: Attach the fan motor to the mounting bracket using the provided screws. Ensure it is securely fastened and properly aligned.
- Install the fan blades: Attach the fan blades to the motor using the provided screws. Ensure the blades are evenly spaced and tightened securely.
- Attach the fan light (if applicable): If your ceiling fan has a light kit, follow the manufacturer’s instructions to install it properly. Connect the wiring and secure any additional components.
- Secure all connections and components: Double-check all the wiring connections, ensuring they are tightly secured. Use electrical tape to wrap the wire connectors for added safety.
- Test the fan: Turn the power back on and test the fan’s operation. Ensure it rotates smoothly and the lights (if applicable) function correctly. Adjust any settings as needed.
When to Call a Professional For Ceiling Fan Installation in Tempe, AZ.
While installing a ceiling fan can be a relatively straightforward task for those with basic electrical knowledge and DIY experience, there are instances when it’s best to call a professional:
- Complex electrical work: If your home’s electrical system is outdated or if you’re unsure about handling complex wiring tasks, it’s wise to hire a licensed electrician. They have the expertise to ensure the installation meets safety standards and can handle any necessary electrical upgrades.
- High ceilings or difficult access: Installing a ceiling fan in rooms with high ceilings or challenging access points can be risky and challenging for DIYers. Professional installers have the necessary equipment and experience to handle these situations safely and efficiently.
- Structural concerns: If you’re unsure about the stability of your ceiling or the integrity of the mounting area, it’s best to consult a professional. They can assess the situation, make any necessary reinforcements, and ensure the fan is installed securely.
- Time constraints or lack of expertise: If you lack the time, tools, or confidence to complete the installation, hiring a professional ensures the job is done correctly and efficiently. They can save you time and provide peace of mind.
Call Redline For All Your Electrical Needs!
Installing a ceiling fan can be a rewarding DIY project, but it’s crucial to recognize your limitations and prioritize safety. By following the outlined steps and adhering to safety precautions, many homeowners can successfully install a ceiling fan themselves. However, for complex electrical work, difficult access points, structural concerns, or if you lack the necessary expertise, it’s advisable to seek the assistance of a professional electrician. Remember, the primary goal is to ensure a safe and functional installation that enhances the comfort and aesthetics of your space.

Redline Electric & Solar
Redline Electric & Solar, is a full-service electrical & solar contractor serving all of Arizona. Founded in 2009, Joshua Farley took his core beliefs and powerful vision to create something he had never seen before while working in the trades. He continues to be the visionary behind the growth of the company and surrounds himself with an amazing staff of folks who would do anything to help anyone.
Request Service
Please fill out the form below to request an estimate or schedule service.


